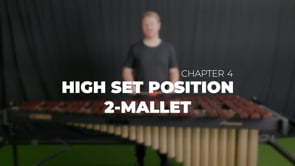
Sign up to view this video Join Now High Set Position 2-Mallet Chapter 4 Previous Low Set Position 4-Mallet Next High Set Position 4-Mallet You Might Also Like Green Scales Variation 2 Overview Natural vs Accidental vs Mixed Manual Considerations Low Set Position 2-Mallet Blueprint Octaves Full Exercise Double Lateral Overview
Sign up to view this video Join Now High Set Position 2-Mallet Chapter 4 Previous Low Set Position 4-Mallet Next High Set Position 4-Mallet You Might Also Like Green Scales Variation 2 Overview Natural vs Accidental vs Mixed Manual Considerations Low Set Position 2-Mallet Blueprint Octaves Full Exercise Double Lateral Overview